This episode we are joined by environmental educators Maggie and Paul to talk about photography. We share tips and experiences using cameras and Paul and Maggie tell us about their off the beaten track photography hobbies: astrophotography and cyanotyping.
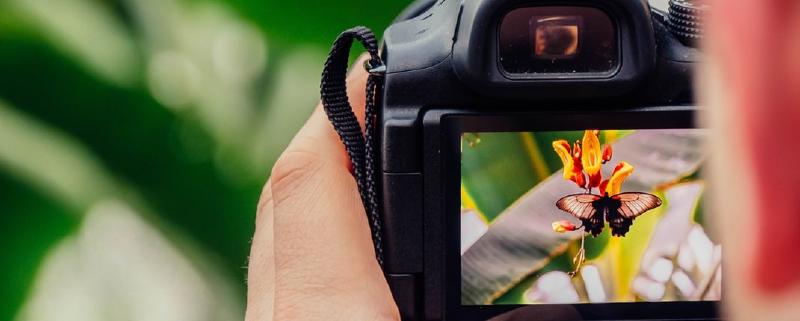
Photography kit tips
Bridge cameras - In between a Digital Single Lens Reflex camera and a Point- and-shoot. These cameras can offer excellent flexibility for those not wanting to carry around too much weight.
Cell phone cameras - Can be great for macrophotography (close-up photos of small things) and landscapes. Try putting a loupe magnifier directly in front of the phone camera lens to really good magnification. Loup magnifiers are small, magnifying glasses often used in the field. Usually with magnification between x5 and x10.
Taking photos for identification purposes
Try to get as many angles as possible. But certain groups of organisms have specific characteristics which are particularly important.
-
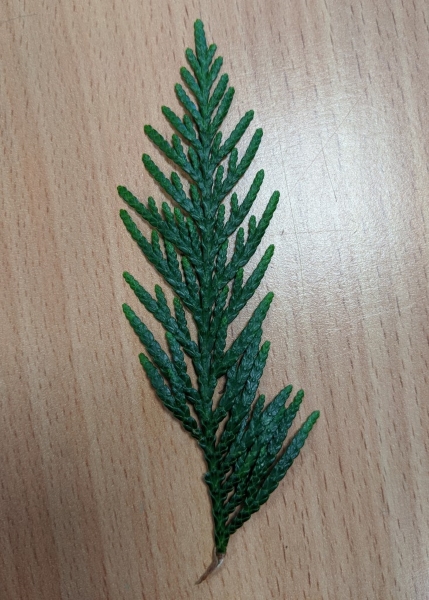
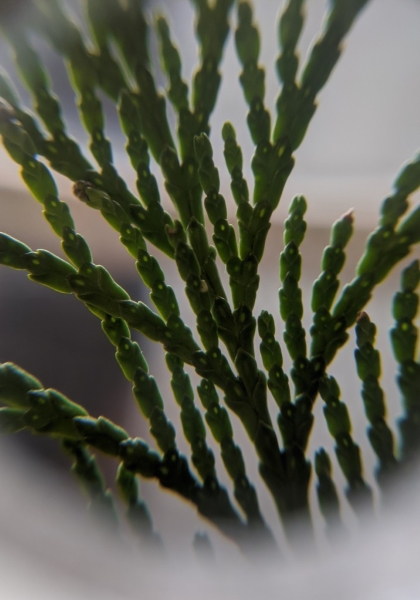
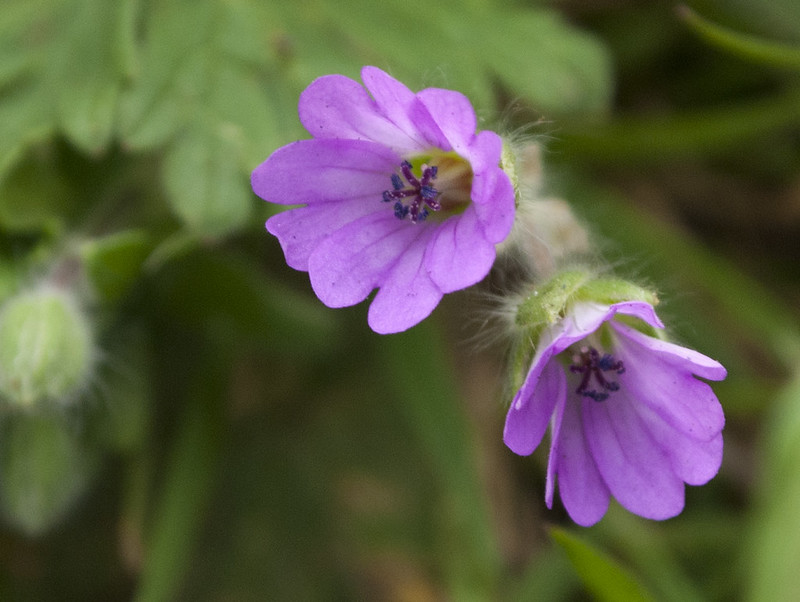
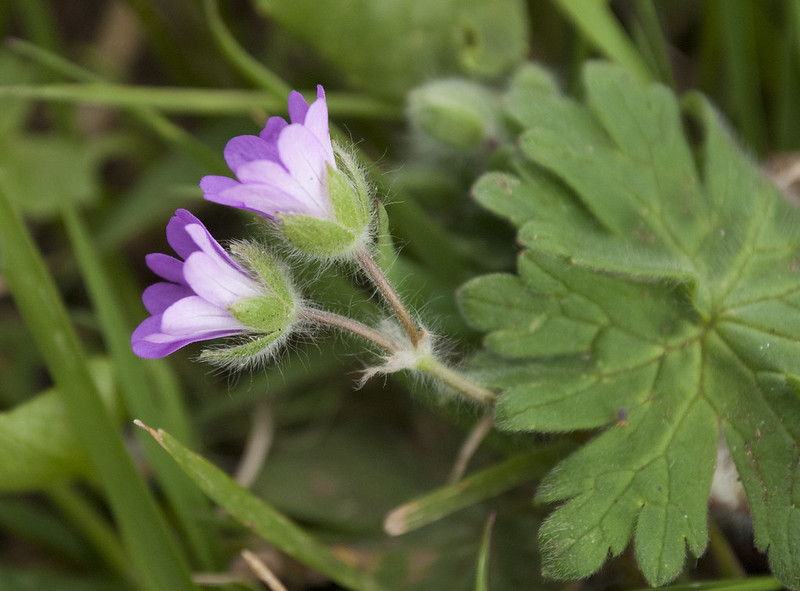
Small plants/wildflowers - Flower from top-down, and side so you can see how parts of the flower are arranged. Leaf shape and how they attach to the stem.
-
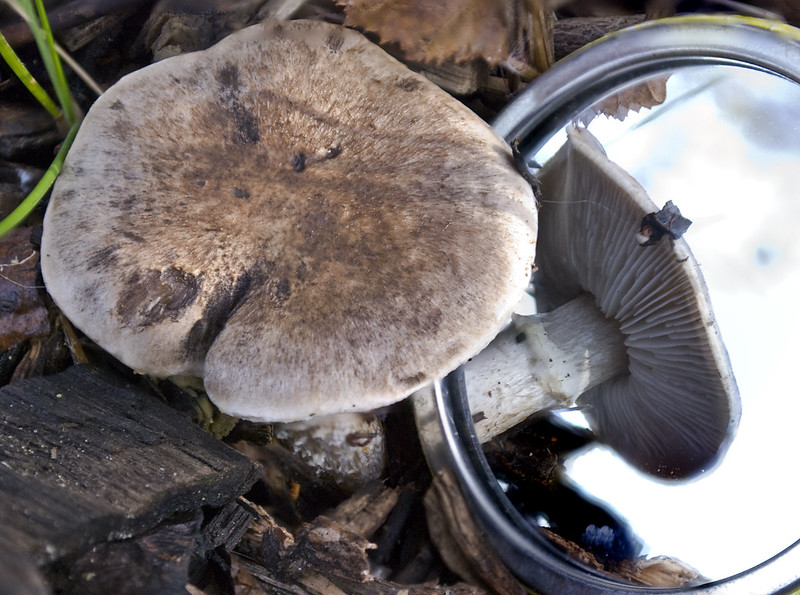
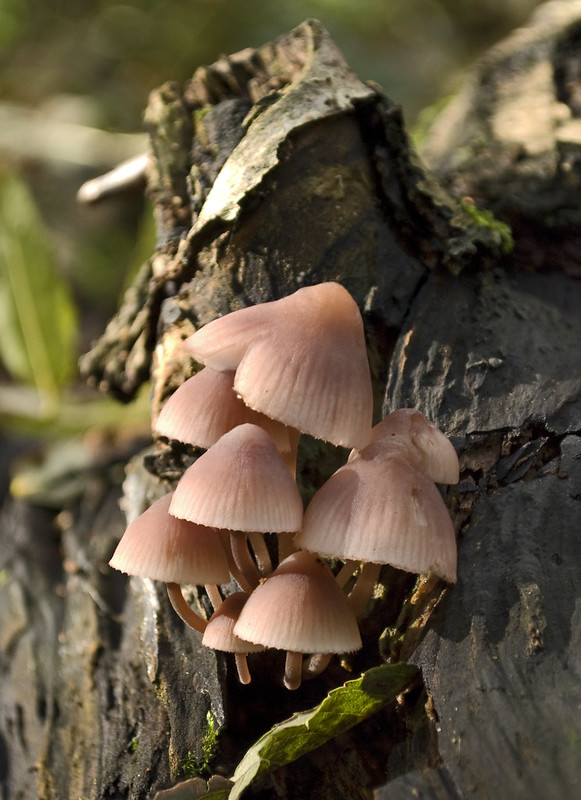
Mushrooms - Gills structure under the cap is often an important feature. Bringing a small mirror can help you see this feature without needing to pick the mushroom.

-
Insects and other invertebrates - Top-down, and side views. You are unlikely to be able to identify many insect groups down to species level from a photo. However photos of key characteristics can help narrow things down.
-
Flies and bees - Wing vein arrangement.
-
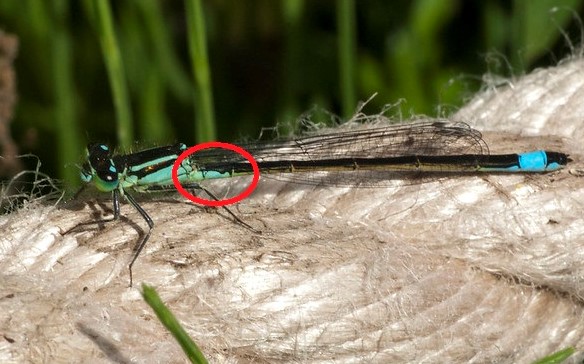
Blue damselflies - 2nd segment of the abdomen, just behind the wings.
-
Butterflies and moths - Underwing patterns can be as important as the upper surface.
-
Snails - Facing the point of the spiral, facing the underside, shape of the opening to the shell.
-
Birds - Underwing, tail patterns, silhouette of wing shape. Backlighting is often a problem. Try to keep your back to the sun so the bird is lit from the front. Otherwise Position yourself so the bird is in front of a tree or other darker background.
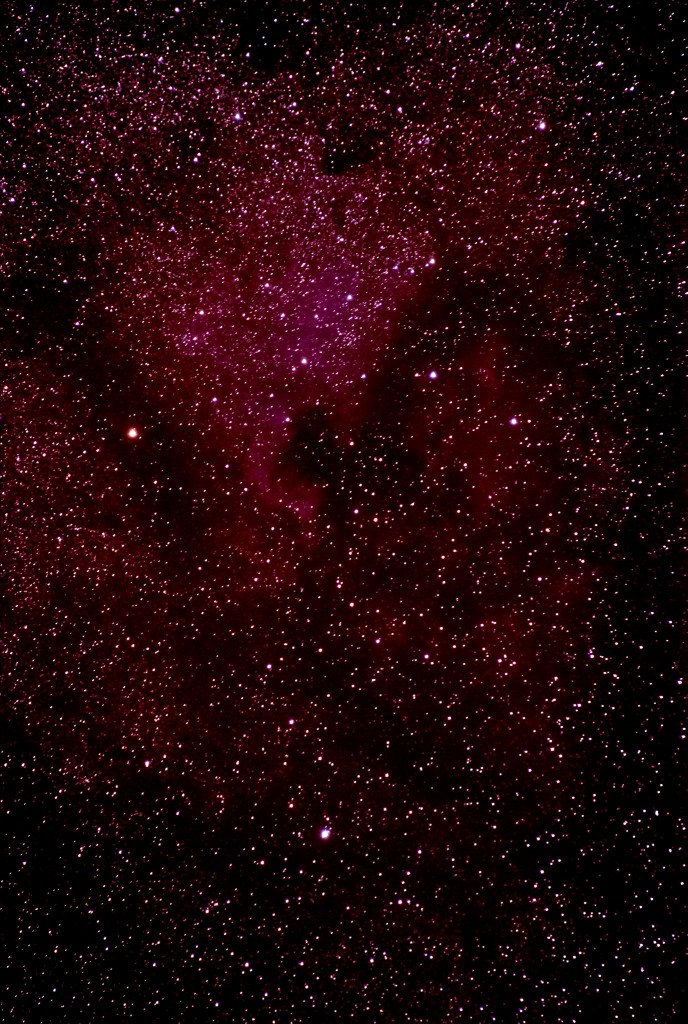
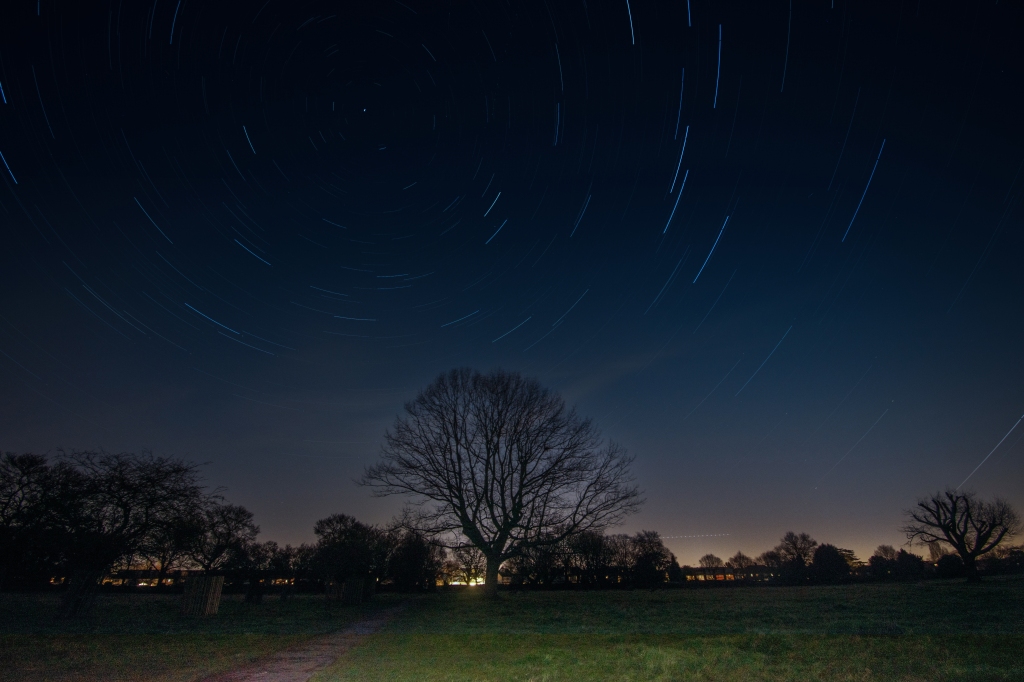
Astrophotography
Kit: Camera, Tripod, some way to release the shutter remotely.
Cost saving tips:
- If you don’t have a tripod you can use a beanbag, jumper or other soft surface to prop your camera facing the sky.
- Use your camera’s timer function so the camera takes the photo without you touching it.
- Use multiple shorter exposures and stack them using software.
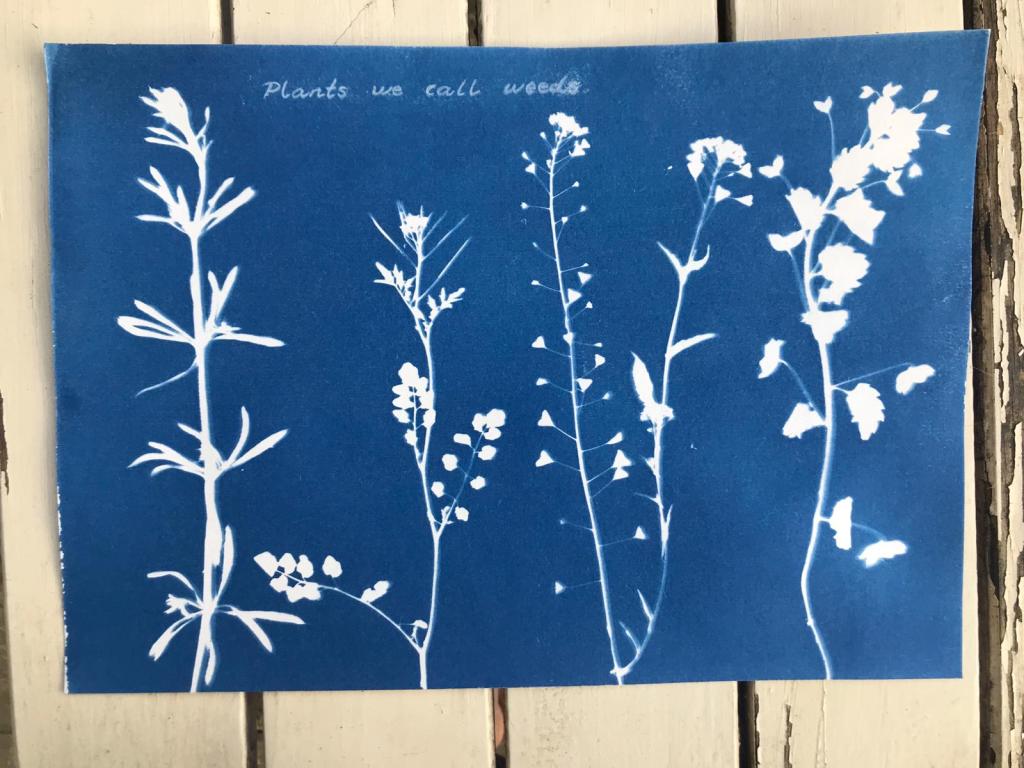
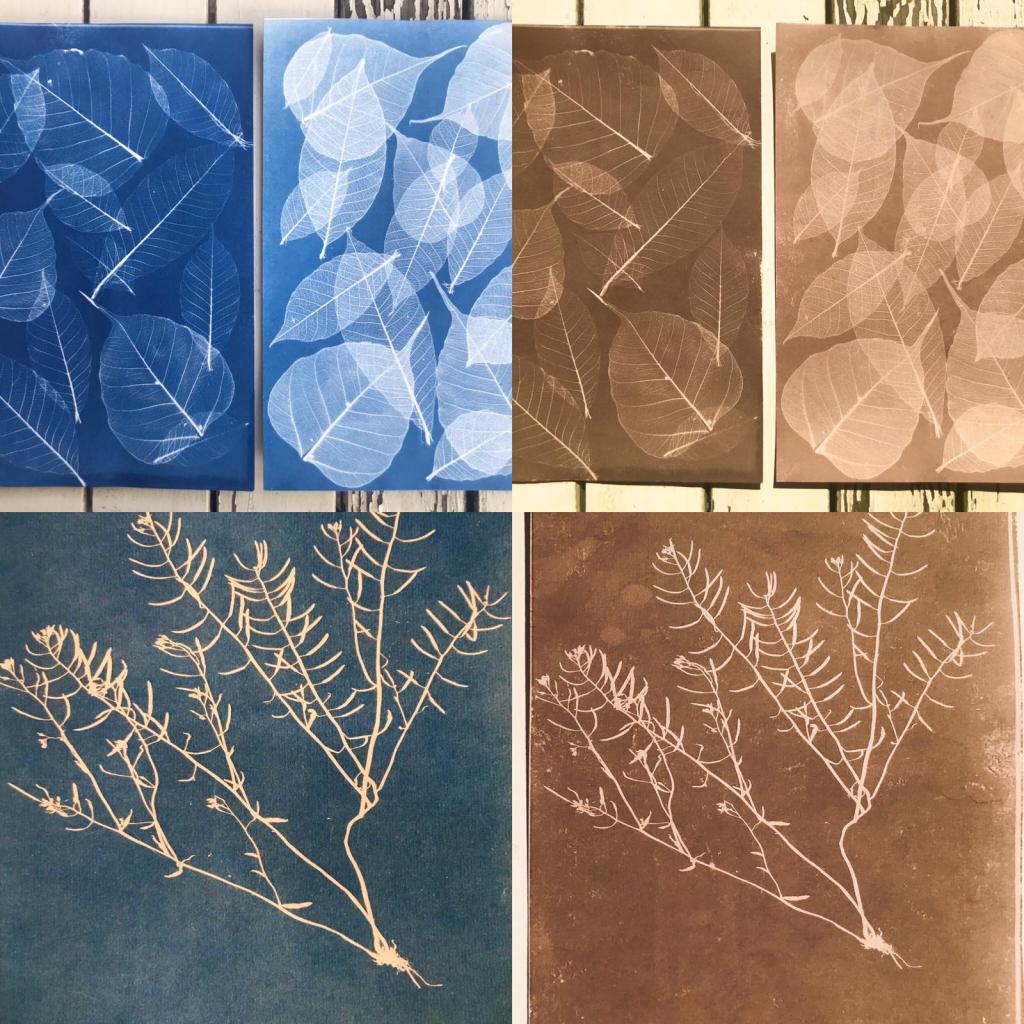
Cyanotyping
Kit: Cyanotype paper, or cyanotype chemical and paper or fabric.
Tips:
- Press plants first so there is better contact with paper
- Weight things down with a sheet of glass or clear plastic
- You can get a sepia effect instead of the blue by using sugar soap of sodium carbonate solution to bleach the image, and then soaking in a strong tea solution.

Photography with kids
- Start with things that don’t move much
- Bring a container. Focus on the bottom of the container will help you to get invertebrates in focus.
- Bring a piece of paper to put behind subjects to help cameras focus.
- Don’t be afraid to make mistakes! The wonderful thing about digital photography is that it is very forgiving to experimentation.
- Look carefully at your surroundings.
Share your photos with us, we’d love to see them!